

In the second part of the “1973 VW Campervan Restoration” series, Snowdonia Classic Campers continues to document the process of preparing Nell, their 1973 VW camper van, for the upcoming 2020 hire season. This episode focuses on cutting out the front floor and preparing the replacement section for welding. The video showcases the necessary steps for a successful restoration, including marking the new panels on the old floor, painting the underside with epoxy primer, and scuffing up the surfaces of the repair panels for better paint adherence. Along with important tips and techniques, the video provides a comprehensive guide to ensure a flawless restoration for campervan enthusiasts.
Check out these awesome Van Life Guides!
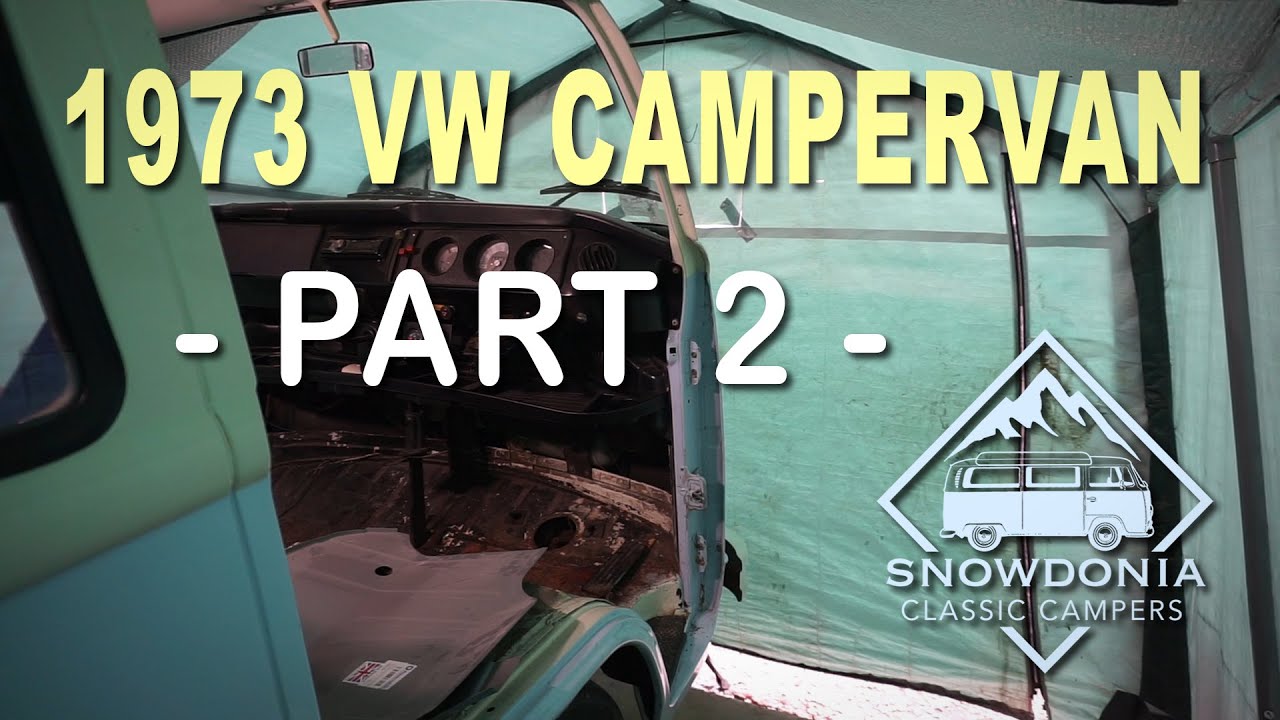
Preparing Nell, our 1973 VW camper van ready for the 2020 hire season.
As the 2020 hire season approaches, it’s time to start preparing Nell, our beloved 1973 VW camper van, for the adventures ahead. One crucial step in this process is cutting out the front floor and ensuring that it is in top-notch condition for our customers. By following these steps, we can ensure a safe and comfortable experience for anyone who chooses to embark on a journey in Nell.
Cutting out the front floor
Before we can begin any repairs or replacements, it is necessary to cut out the existing front floor. This is done by carefully marking the new panels onto the old floor, ensuring accuracy and precision. By using a marker or any suitable tool, you can outline the dimensions of the replacement sections on the old floor. This step is crucial as it sets the foundation for the further repairs and installations.
Preparing the replacement section
Now that the new panels have been marked out, it’s time to prepare the replacement section. Begin by painting the repair panels with epoxy primer. This primer is essential as it provides a protective layer that prevents corrosion and helps adhere the panel securely to the floor. Once the primer has dried, scuff up the surfaces of the repair panels to ensure better adhesion of the floor sealant later on. This step helps create a strong bond between the replacement section and the existing floor.
Painting the underside with epoxy primer
While preparing the replacement section, do not forget to pay attention to the underside of the van. Painting the underside with epoxy primer serves the same purpose as painting the repair panels. This protective layer not only safeguards the underside from rust and corrosion but also provides additional structural integrity. By applying epoxy primer to the underside, you can extend the life of the camper van and ensure its durability throughout the hire season.
Checking for wires or wiring looms
During the restoration process, it is crucial to thoroughly inspect underneath the floor for any wiring or wiring looms. Cutting through these wires can not only be dangerous but can also cause significant damage to the electrical system of the camper van. To avoid any mishaps, take necessary precautions before proceeding with any repairs or replacements.
Inspecting underneath the floor for wiring
Before cutting out the floor or performing any repairs, it is essential to conduct a thorough inspection underneath the floor. Carefully examine the wiring and wiring looms, ensuring their proper placement and condition. Look for any signs of wear and tear or loose connections. By doing so, you can identify any potential risks and address them before continuing with the restoration process.
Taking precautions to avoid cutting through any wires
Once the inspection is complete, it’s time to take necessary precautions to avoid cutting through any wires. Make sure to mark the areas where you suspect wiring may be present and handle the cutting tools with utmost care. Double-check your measurements and take your time while cutting out the floor to minimize the risk of damaging any electrical components. Safety should always be the top priority during these procedures.

If You Love Van Life, You Will Not Want To Miss These, Click Here to Read More Awesome!
Repairing and preparing the floor
Now that we have successfully cut out the old floor and ensured the absence of any wiring concerns, it’s time to repair and prepare the floor for installation. This involves performing necessary repairs on the floor, grounding down any rough edges, and getting ready to install the new floor.
Performing necessary repairs on the floor
Before installing the new floor, inspect the existing floor thoroughly and perform any necessary repairs. This may include fixing any cracks, reinforcing weak spots, or replacing damaged sections entirely. By addressing these repairs, you can ensure that the new floor will have a solid foundation to sit upon and contribute to the overall stability and safety of the camper van.
Grinding down any rough edges
Once the repairs are complete, it’s important to grind down any rough edges on the floor. This step ensures a smooth surface for the installation of the new floor and avoids any discomfort or potential hazards for passengers. Use suitable tools and take your time to achieve a satisfactory result. Smoothing out the edges will also make it easier to fit and secure the replacement panels later on.
Getting ready to install the new floor
Now that the repairs and smoothing process is complete, it’s time to proceed with installing the new floor. Take a moment to double-check your measurements and ensure that the replacement panels are cut and adjusted to fit perfectly. Proper fitment is crucial for a seamless installation and provides a stable and secure foundation for the rest of the restoration process.
Completing the other side
With one side of the floor successfully repaired and prepared for installation, it’s time to move on to the other side. Following a similar process to what was done on the first side, cutting out the floor, performing necessary repairs, and preparing the new panels will prepare the camper van for a complete restoration.
Cutting out the other side of the floor
Using the same techniques employed earlier, proceed to cut out the other side of the floor. Mark the dimensions meticulously and ensure accuracy to maintain consistency throughout the restoration. By repeating the cutting process on the other side, you can create a balanced and uniform look for Nell, our 1973 VW camper van.
Performing necessary repairs on that side
After cutting out the floor, perform any necessary repairs on the other side. Inspect the area thoroughly and address any issues that may need attention. This step is essential for maintaining the overall integrity and structural stability of the camper van. Attention to detail during the repair process will guarantee a high-quality restoration.
Preparing the new panels for installation
Just as before, it’s crucial to prepare the new panels by applying epoxy primer and scuffing up their surfaces for better adhesion. Take your time to ensure an even coat of primer and allow it to dry before proceeding. By properly preparing the new panels, you are setting the stage for a successful installation and guaranteeing a long-lasting and durable floor.
Installing the new floor
It’s finally time to install the new floor and see the restoration process come together. This step involves placing the panels in position, securing them with mastic, and ensuring a tight and secure fit.
Placing the panels in position
With the new panels prepared, carefully position them onto the floor. Double-check their measurements and make any adjustments if necessary to achieve an accurate fit. Take your time during this step to ensure that the panels sit correctly and align with the markings made earlier. Proper positioning is crucial for the success of the restoration project.
Securing the panels with mastic
Once the panels are in position, secure them with mastic. Apply the mastic evenly, ensuring adequate coverage for a secure bond. This adhesive will keep the panels in place and prevent any movement or shifting during use. Be thorough in your application, paying particular attention to the edges and corners, as these areas are prone to strain and stress.
Ensuring a tight and secure fit
After the mastic has been applied, ensure a tight and secure fit by pressing down on the panels firmly. This step helps achieve maximum adhesion and reduces the risk of any gaps or unevenness. Check all edges and corners to ensure they are flush with the surrounding areas. It is essential to create a smooth and level surface to guarantee the comfort and safety of the van’s occupants.
Conclusion
As we reflect on the progress made in the restoration process of Nell, our 1973 VW camper van, we are pleased with the strides taken in preparing the front floor for the 2020 hire season. By cutting out the old floor, checking for wiring concerns, and repairing and installing the new floor, we have ensured a solid foundation for future restoration efforts.
Looking forward, we anticipate the completion of the restoration project, knowing that each step brings us closer to reviving Nell’s former glory. The attention to detail and professionalism employed throughout the process will result in a safe and reliable vehicle for our customers to enjoy during their hire experiences.