

In this article titled “1973 VW Campervan Restoration Part 25,” Snowdonia Classic Campers takes you through the process of preparing Nell, their 1973 VW Bay window campervan, for the 2020 hire season. The video showcases the extensive block sanding involved in the restoration, as well as the use of shrinking discs to address any imperfections. The author acknowledges the necessity of using filler to achieve a straight panel, although they strive for minimal application. The article concludes by mentioning the upcoming steps of applying primer and focusing on other areas of the campervan’s restoration.
The article provides valuable insights into the restoration process and highlights the attention to detail required for a successful outcome. It serves as a resource for individuals interested in campervan restoration and showcases Snowdonia Classic Campers’ expertise in the field.

Check out these awesome Van Life Guides!
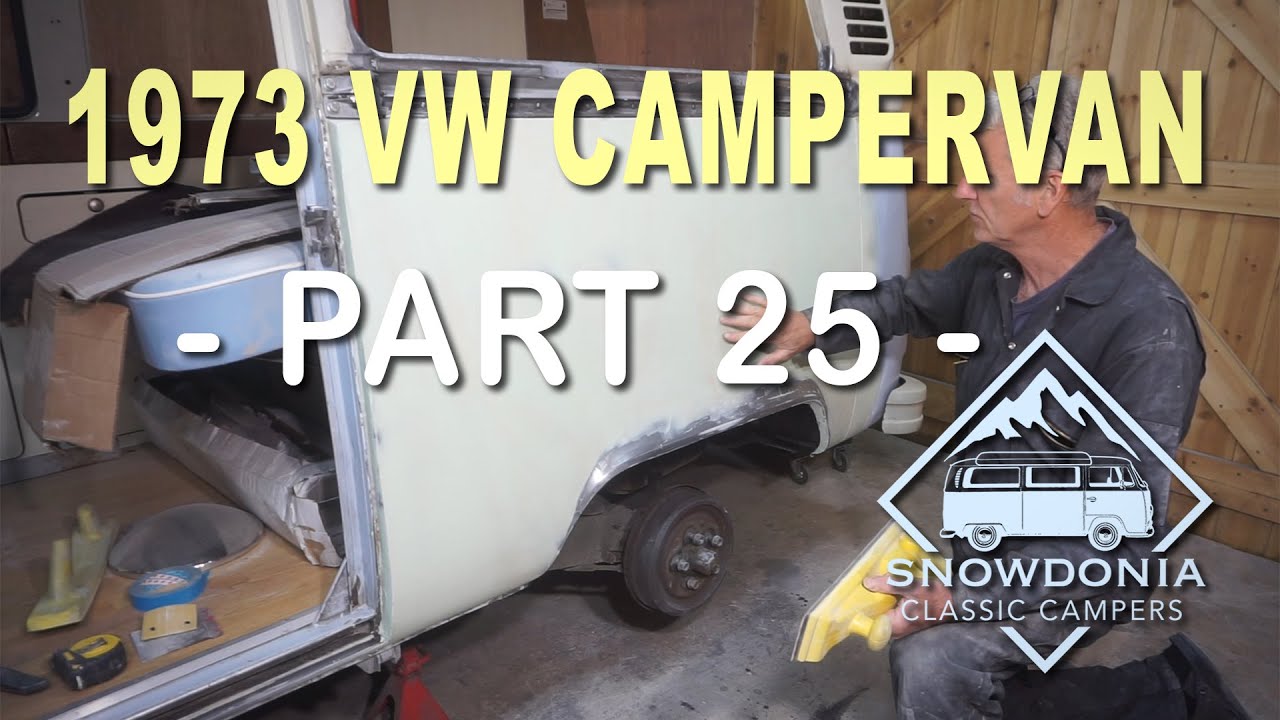
Part 25 – Preparing Nell, our 1973 VW Bay window campervan ready for the 2020 hire season.
As the 2020 hire season approached, it was crucial to ensure that Nell, our beloved 1973 VW Bay window campervan, was in pristine condition. One of the key areas that required attention was the rear panel. Over time, wear and tear had taken its toll on this part of the vehicle, and it was necessary to undertake extensive restoration work to bring it back to its former glory. This article will provide a comprehensive overview of the process involved in preparing Nell for the upcoming season.
Block Sanding the Repair Panel
Removing the black primer
To begin the restoration process, the first step was to remove the black primer that covered the rear panel. This was achieved by using a suitable stripping agent and carefully scraping away the primer. It was essential to be cautious and avoid causing any damage to the metal beneath the primer.
Using the Shrinking disc to tighten up stretch
Once the primer was removed, it was time to address any areas of stretch in the metal. This was accomplished by using a shrinking disc, which effectively tightened up any stretched areas and restored the panel to its original shape. The key was to work patiently and methodically, ensuring that each section was addressed thoroughly.
Roughing it over and leveling with sixty grit
After using the shrinking disc, the next step in the restoration process was to roughen the surface of the repair panel using sixty-grit sandpaper. This served to provide a suitable surface for the body filler to adhere to. Additionally, it helped to level out any uneven areas on the panel, ensuring a smooth and consistent finish.
Adding layers of filler
With the surface suitably prepared, it was time to apply the body filler. Multiple layers of filler were necessary to achieve the desired result. It was important to apply each layer evenly and allow it to dry fully before adding subsequent layers. This process required patience and attention to detail to ensure a flawless finish.
Final sanding and smoothing with Dolphin glaze
Once the necessary layers of filler had been applied, the next step involved sanding and smoothing the repair panel. This was achieved by using Dolphin glaze, a specialized product designed to provide a smooth and polished finish. Block sanding techniques were employed, gradually transitioning from coarser grits to finer ones, such as 120 and 240, to achieve the desired level of smoothness.
If You Love Van Life, You Will Not Want To Miss These, Click Here to Read More Awesome!
Achieving a Flat Surface with Body Filler
Filling in low spots with additional layers of body filler
During the restoration process, it became evident that certain areas of the repair panel had lower spots that needed additional attention. To rectify this, additional layers of body filler were applied to fill in these depressions. It was crucial to ensure that each layer was applied evenly and allowed to dry correctly before moving on to the next step.
Reaching a final thickness of four millimeters
In order to achieve a flat surface on the repair panel, it was necessary to build up the body filler to a final thickness of four millimeters. This ensured that any imperfections or irregularities in the metal beneath were effectively concealed, resulting in a flawless surface.
Applying another layer of filler to get a nice flat surface
After reaching the desired thickness, it was important to assess the surface and make any necessary adjustments. This often involved applying another layer of body filler to ensure that the repair panel was smooth and level. Attention to detail was crucial at this stage to achieve a visually appealing and professional-looking end result.
Reattaching the panel seam joint
Once the repair panel was sufficiently filled and leveled, the next step involved reattaching the panel seam joint. This was done carefully, ensuring that the seam was aligned correctly and securely fastened. Attention to detail was once again paramount to ensure a seamless and visually appealing transition.
Inspecting and Finishing the Filler Work
Completing basic filler work
After achieving a flat surface and reattaching the panel seam joint, it was necessary to thoroughly inspect the filler work. It was essential to check for any inconsistencies, irregularities, or imperfections and address them accordingly. This involved carefully examining the repair panel and making any necessary adjustments or refinements.
Applying Dolphin glaze for a smooth finish
To add the finishing touches to the filler work, Dolphin glaze was applied. This specialized product allowed for the creation of a smooth and flawless finish on the repair panel. The glaze was carefully applied, ensuring an even distribution across the entire surface. It was crucial to work meticulously and methodically to achieve the desired result.
Block sanding and finishing with 120 and 240 grit
Once the Dolphin glaze had sufficiently dried, block sanding techniques were employed to further refine the surface. Coarser grits, such as 120, were initially used to remove any high spots or imperfections. Finer grits, such as 240, were then used to achieve a smooth and polished finish. Attention to detail was crucial throughout the sanding process to ensure a flawless end result.
Reattaching the sliding door and checking gaps and profiles
With the filler work complete and the repair panel properly finished, it was time to reattach the sliding door. Careful attention was paid to ensure that the door aligned correctly with the surrounding bodywork. Gaps and profiles were thoroughly checked to ensure a seamless and visually appealing transition from the repaired area to the rest of the vehicle.
Cleaning Door Jams and Preparing for Primer
Cleaning up door jams and bottom area
Before proceeding with the priming process, it was essential to clean up the door jams and the bottom area of the campervan. This involved removing any dirt, debris, or loose paint and ensuring that the surfaces were clean and ready for the next step.
Taking off rear bumper and masking up
In order to provide a smooth and professional finish, it was necessary to remove the rear bumper. This allowed for easier access to the area that required priming. Additionally, careful masking was done to protect any adjacent areas from overspray or damage during the priming process.
Priming the van for paint
With the rear panel appropriately prepared and the necessary areas protected, it was time to apply the primer. This crucial step served as a foundation for the subsequent painting process, ensuring proper adhesion and providing a smooth surface for the paint to adhere to. The primer was applied evenly and allowed to dry fully before moving on to the next stage.
Prepping the backs of the seats
While focusing on the rear panel, it was also important not to overlook the backs of the seats. These areas required cleaning and preparation before being primed. Any loose paint or debris was removed, and the surfaces were thoroughly cleaned to ensure proper adhesion of the primer and subsequent layers of paint.
Lessons Learned and Reflections
The importance of initial metalwork
Throughout the restoration process, it became evident that the initial metalwork was crucial in achieving a flawless end result. Taking the time to properly address any stretch or damage in the metal before proceeding with the filler work was essential to ensure a smooth and professional finish.
Striving for better preparation
The restoration process highlighted the importance of thorough preparation. Applying multiple layers of filler and meticulously sanding and smoothing the repair panel were key steps in achieving a flawless and visually appealing end result. The attention to detail and dedication to preparation were vital in ensuring the success of the restoration project.
Taking more time and care for future projects
Reflecting on the restoration process, it was evident that taking more time and care in each step would be beneficial for future projects. Rushing or cutting corners could result in subpar outcomes and the need for additional corrective work. By allowing for ample time and dedicating the necessary care, future restorations could be completed more efficiently and with superior results.
Conclusion
Preparing Nell, our 1973 VW Bay window campervan, for the 2020 hire season was a comprehensive process that involved extensive block sanding and filling work on the rear panel. The meticulous removal of the black primer, using the shrinking disc to tighten up stretch, and roughing it over and leveling with sixty grit were essential steps in the restoration process. Applying multiple layers of filler and using Dolphin glaze allowed for achieving a flat surface and a seamless transition. Attention to detail, such as filling in low spots and reaching the final thickness of four millimeters, were crucial for a professional finish. Additionally, cleaning door jams, preparing the backs of the seats, and priming the van were important steps in the overall restoration process. Lessons learned about the importance of initial metalwork, striving for better preparation, and taking more time and care for future projects will be valuable in ensuring successful restorations moving forward. The next step in the restoration process is priming the van before proceeding with further painting and restoration work, bringing Nell one step closer to her full glory for the upcoming 2020 hire season.