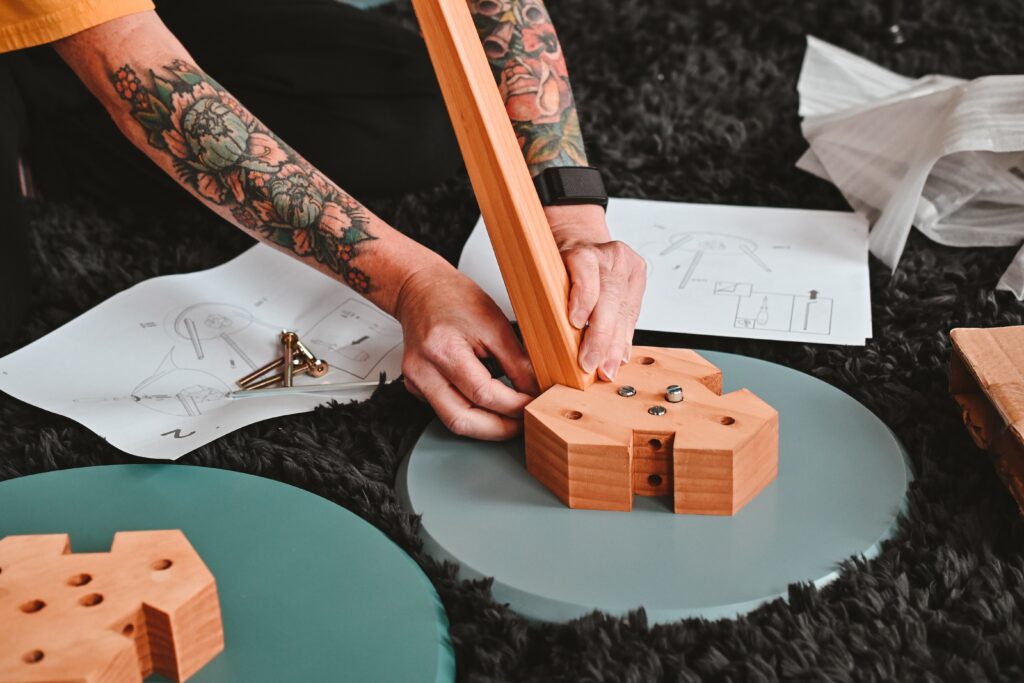
In this article, we explore the process of building a storage step for a van in the Van Build Series. The step serves multiple purposes, including providing a footrest when the seats are swiveled around, offering extra storage space, and creating a flat section of floor suitable for a dog bed. The step is constructed with careful measurements and angles, and door hinges are added to enable it to hinge up for storage access. The step is primed and painted, and adjustments are made for a solid fit. Additionally, the article mentions that the builders used Goal Zero products for this project, and the video demonstrating the process can be found on their Instagram and Facebook pages. They also disclose that they are affiliated with the Amazon Associates Program and eBay Partner Network, and some of the links included in the content are affiliate links.
Building a Storage Step for Your Van with Matt and Katie

Introduction
Welcome to this comprehensive guide on building a storage step for your van! In this article, we will walk you through the process of constructing a practical and functional storage step that not only provides a stable surface for entering and exiting your van but also offers convenient storage space. We will cover everything from materials and tools needed to planning and measurements, constructing the step, adding hinges for storage access, priming and painting, adjusting for a solid fit, securing the step in place, and additional measures for stability. So let’s get started!
Materials and Tools
Before embarking on any DIY project, it’s important to gather all the necessary materials and tools. For building your storage step, you will need the following:
- Goal Zero Products: These portable power solutions are ideal for vans and can power your step’s lighting or other electronics.
- Birch Ply: This sturdy and durable wood material will serve as the main construction material for your step.
- Door Hinges: Hinges are essential for providing access to the storage compartment beneath the step.
- Primer and Paint: To protect and enhance the appearance of your step, primer and paint will be required.
- Screws and Cabinet Screws: These will be used to secure the components together and attach the step to the van floor.
- Additional Measures: Depending on your specific needs, you may want to consider incorporating drawer catches or other hardware to enhance the functionality of your storage step.
Planning and Measurements
Proper planning and measurements are crucial in ensuring the functionality and fit of your storage step. Consider the following factors:
- Bench Seat Placement: Take into account the location of any bench seating in your van to ensure the step fits seamlessly with the overall layout.
- Pull-Up Fridge Placement: If you have a pull-up fridge, determine its location in relation to the step to ensure easy access.
- Heater Considerations: Consider whether you will install a Lobosco or Sbar heater and plan accordingly to prevent any obstruction or interference with the step.
- Determining Step Height: Measure the distance from the ground to the van floor to determine the appropriate height for your step.
- Adding Flush Top Piece: To create a smooth and seamless look, consider adding a flush top piece to cover any gaps between the step and the van floor, providing a cohesive aesthetic.
Constructing the Step
Once you have finalized your plans and measurements, it’s time to start constructing your storage step. Follow these steps:
-
Preparing the Birch Ply: Measure and mark the required dimensions on the birch ply. Ensure the ply is clean and free from any imperfections before cutting.
-
Cutting the Step Components: Use a saw or a suitable woodworking tool to cut the birch ply into the necessary components, such as the step platform, sides, and front panel.
-
Assembling the Step: Begin by attaching the sides to the step platform using screws or other fasteners. Then, secure the front panel to the sides, ensuring a sturdy construction.
-
Ensuring Proper Measurements and Angles: Double-check all the measurements and angles to ensure the step is level and properly aligned. Make any necessary adjustments to achieve the desired fit.

Adding Hinges for Storage Access
To maximize the functionality of your storage step, the addition of hinges is essential. Follow these steps:
-
Determining Hinge Placement: Assess the step design and determine the optimal placement for the hinges. Consider factors such as ease of access and the overall weight distribution of the step.
-
Attaching Hinges to the Step: Secure the hinges to the back panel of the step using screws or other suitable fasteners. Ensure they are properly aligned and securely attached.
-
Testing and Adjusting the Hinge Mechanism: Test the hinges to ensure smooth movement and proper alignment. Make any necessary adjustments to ensure the storage access functions properly and securely.
Priming and Painting
Now that your storage step is constructed and has storage access, it’s time to enhance its appearance and protect it from wear and tear. Follow these steps:
-
Preparation for Priming: Ensure the surface of the step is clean, dry, and free from any debris or dust. Use sandpaper to smooth out any rough edges or imperfections.
-
Applying Primer: Apply a coat of primer to the entire surface of the step, following the manufacturer’s instructions. Allow sufficient drying time before moving on to the next step.
-
Painting the Step: Select a paint color that suits your van’s interior or personal preference. Apply multiple coats of paint, allowing each layer to dry thoroughly in between applications.
-
Allowing Sufficient Drying Time: Once the final coat of paint is applied, allow the step to dry completely before handling or installing it in your van. This will ensure a durable and long-lasting finish.

Adjusting for a Solid Fit
Before installing the step permanently in your van, it’s important to test the fit and make any necessary adjustments. Follow these steps:
-
Testing the Fit of the Step: Place the step in its intended position within the van and assess the fit. Ensure it aligns properly with the van floor and any surrounding fixtures.
-
Making Necessary Adjustments: If the fit is not ideal, make minor adjustments by sanding or trimming the step components for a precise and secure fit.
-
Ensuring Stability and Functionality: Test the step’s stability by applying moderate weight and pressure. Ensure it remains level, secure, and functional.
Securing the Step in Place
With the fit and functionality of your storage step confirmed, it’s time to secure it in place. Follow these steps:
-
Choosing Appropriate Screws: Select screws that are suitable for attaching the step to the van floor. Consider the thickness and material of the van floor to ensure a secure connection.
-
Securing the Step to the Van Floor: Drill pilot holes and carefully secure the step to the van floor, ensuring it is level and aligned with any adjacent fixtures or flooring.
-
Checking the Stability: After securing the step, test its stability once again to ensure it does not wobble or shift under normal use conditions. Make any necessary adjustments or reinforcements if needed.

Additional Measures for Stability
For added stability and security, consider incorporating additional measures into your storage step design. Some options include:
- Drawer Catches: Install drawer catches to secure the storage compartment beneath the step, preventing accidental opening during travel.
Conclusion
Congratulations on successfully building your storage step for your van! In this article, we covered everything from gathering materials and tools to planning and measurements, constructing the step, adding hinges for storage access, priming and painting, adjusting for a solid fit, securing the step in place, and additional measures for stability. By following these steps, you have created a functional and practical addition to your van that not only provides a reliable step but also offers valuable storage space. Enjoy the benefits of your newly built storage step and feel proud of your DIY accomplishment!

