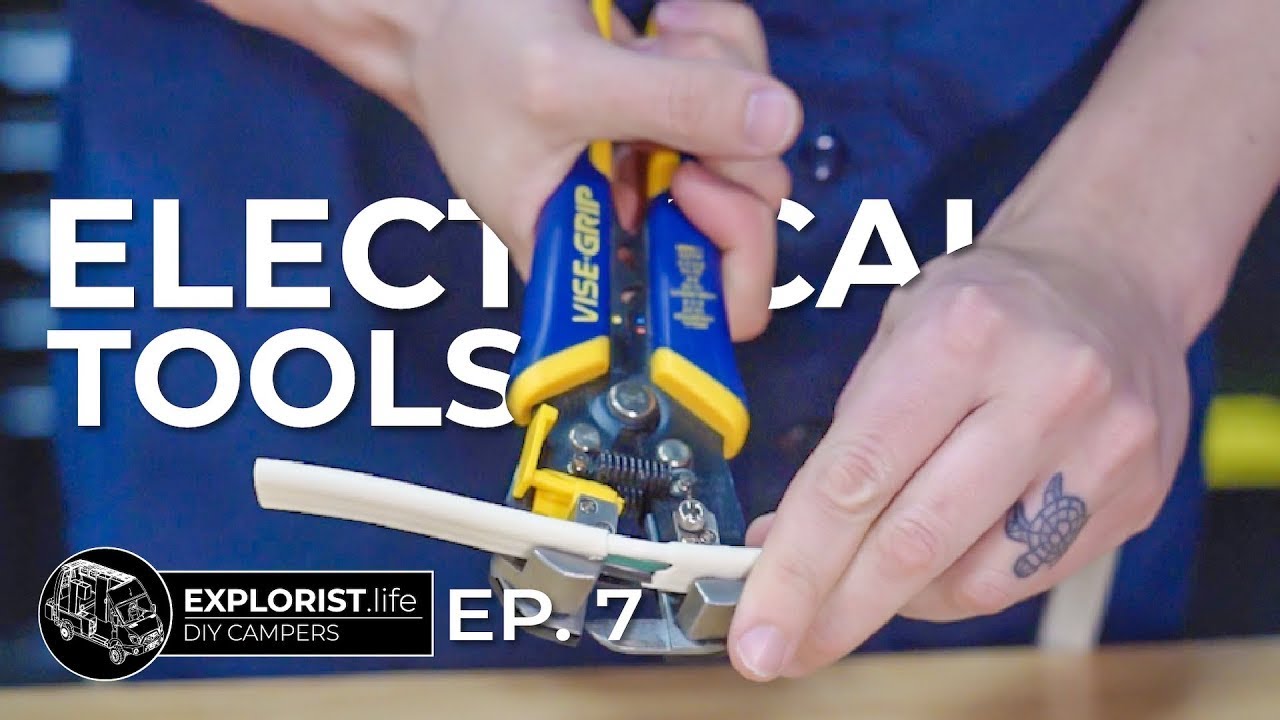
The title of our article is “DIY Camper Electrical Installation: Tools and Techniques.” In this article, we will be discussing a video by EXPLORIST life – DIY Campers that covers the tools needed for a DIY Camper Electrical install. The video will provide information on tools for cutting, stripping, crimping, and heat shrinking wires, lugs, and ferrules. Additionally, it will discuss the building process of a DIY Camper Electrical system and showcase various wire cutters, wire strippers, and wire crimpers. The video also mentions additional tools such as a heat gun, digital multimeter, AC voltage detector, and standard hand tools. Furthermore, it informs the readers that the next week’s video will focus on sound control for the van’s interior using lizard skin sound control.

Check out these awesome Van Life Guides!
Tools for DIY Camper Electrical Installation
When undertaking a DIY camper electrical installation, it is crucial to have the right tools at your disposal. This ensures that you can efficiently handle all the necessary wiring and connections required for a safe and reliable electrical system. Here, we will discuss some essential tools that every DIY camper enthusiast should have in their toolbox.
Wire Cutters
Wire cutters are an indispensable tool for any electrical installation project. They allow you to cleanly and precisely cut through various types of wires, enabling you to make accurate and secure connections. Here are a few wire cutter options that we recommend:
Klein 63030 Coaxial Cutters
The Klein 63030 Coaxial Cutters are specifically designed to cut through coaxial cables. These cutters feature a tapered, rounded cutting blade that ensures a clean cut without damaging the inner conductor. They are especially useful when working with television antennas and other coaxial connections in your camper’s electrical system.
Eight Inch Diagonal Cutters
Eight Inch Diagonal Cutters, also known as diagonal pliers or simply dikes, are versatile wire cutters that can handle a wide range of wire sizes. These cutters have a sharp cutting edge that allows for precise trimming of wires. They are an excellent all-purpose tool for various electrical installation tasks, including cutting wires, removing insulation, and crimping connectors.
Flush Trim Cutters
Flush trim cutters are ideal for cutting wires close to a surface without leaving any protrusions. These cutters have a flush cutting edge that ensures a clean and flush cut, which is essential when installing wires in tight spaces. They are particularly useful when working in confined areas, such as inside cabinets or behind wall panels in your camper.
Wire Strippers
Wire strippers are essential for removing the insulation from wires without damaging the conductor. They come in various sizes and types, each suited for different wire gauges and insulation thicknesses. Here are a couple of wire stripper options that we recommend:
Self-Adjusting Wire Strippers
Self-adjusting wire strippers are designed to automatically adjust to the wire gauge you are working with. These strippers feature a mechanism that detects the wire size and adjusts the stripping jaws accordingly, ensuring precise and damage-free stripping. They are incredibly convenient, especially when dealing with various wire thicknesses during your camper electrical installation.
Klein Wire Strippers
Klein wire strippers are a popular choice among electricians and DIY enthusiasts alike. These strippers offer precise wire stripping capabilities, with clearly marked stripping holes for different wire gauges. Klein wire strippers also often include additional features such as built-in cutting edges and crimping locations, making them a versatile tool for multiple tasks.
Wire Crimpers
Wire crimpers are essential for creating strong and reliable connections between wires and connectors. They provide a secure and professional finish to your camper’s electrical wiring. Here are a few wire crimper options that we recommend:
Ratcheting Crimpers
Ratcheting crimpers are a reliable choice for creating properly crimped connections consistently. These crimpers have a ratcheting mechanism that ensures consistent pressure and precision during the crimping process. They are designed to prevent under-crimping or over-crimping, resulting in a secure connection that minimizes the risk of electrical failures in your camper.
Larger Crimper
A larger crimper, such as the ones used for heavy-duty applications, can be beneficial when working with thicker gauge wires or larger connectors. These crimpers provide the necessary leverage and strength to create tight and secure connections in your camper’s electrical system. However, it is essential to ensure that the crimper you choose matches the wire gauge and connector size you are working with.
Miscellaneous Tools
In addition to the specific tools mentioned above, there are a few miscellaneous tools that are invaluable for a DIY camper electrical installation:
Heat Gun
A heat gun is commonly used to shrink heat-shrink tubing, which provides insulation and protection for connections. The heat gun allows for precise and controlled heating, ensuring a tight and secure seal around the connection.
Digital Multimeter
A digital multimeter is an essential tool for testing and troubleshooting electrical circuits. It allows you to measure voltage, current, and resistance, giving you valuable insights into the health and functionality of your camper’s electrical system.
AC Voltage Detector
An AC voltage detector is used to determine whether an electrical circuit is energized or de-energized. It provides a non-contact method for quickly identifying the presence of voltage in wires or outlets, ensuring your safety during the installation process.
Standard Hand Tools
Standard hand tools, such as screwdrivers, pliers, and wrenches, are essential for various tasks during the camper electrical installation. These tools may be needed for securing connections, mounting components, or making adjustments to your camper’s electrical system.
Techniques for DIY Camper Electrical Installation
Successfully installing the electrical system in your DIY camper requires Following proper techniques and procedures. Here, we will discuss the important steps involved in a camper electrical installation:
Mapping Out Electrical System
Before starting with any wiring or installations, it is crucial to map out your camper’s electrical system. This includes planning the locations of components such as batteries, inverters, circuit breakers, and outlets. A well-designed electrical system layout will ensure efficiency, ease of use, and optimal functionality.
Selecting the Right Wire
Choosing the correct wire for your camper’s electrical system is essential for ensuring safe and reliable operation. Factors such as wire gauge, insulation type, and temperature rating need to be considered. It is recommended to consult the appropriate wire-sizing charts and guidelines to select wires that can handle the expected current loads without overheating.
Choosing Connectors
Selecting suitable connectors is vital for creating secure and long-lasting electrical connections in your camper. Different connectors are designed for specific wire gauges and applications. It is essential to choose connectors that match the wire size and have the appropriate crimp terminals to ensure reliable connections.
Properly Crimping and Connecting Wires
Crimping and connecting wires correctly is crucial for creating secure and reliable electrical connections. Proper crimping techniques must be followed to ensure that the conductors are tightly and permanently attached to connectors. It is essential to use the appropriate crimpers and follow the manufacturer’s guidelines for achieving optimal crimp connections.
Installing Circuit Breakers and Fuses
To protect your camper’s electrical system from potential overloads or short circuits, it is crucial to install circuit breakers and fuses. These protective devices interrupt the flow of electricity when abnormal conditions occur, preventing damage to your wiring and equipment. It is important to select and install circuit breakers and fuses of the appropriate rating for each electrical circuit in your camper.
Testing the Electrical System
Once the wiring and installations are complete, thorough testing of the electrical system should be performed. This includes checking voltage levels at various points, ensuring proper grounding, and verifying the functionality of switches, outlets, and other electrical components. Testing helps identify any issues or potential hazards before they become a problem, ensuring a safe and reliable electrical system in your DIY camper.
If You Love Van Life, You Will Not Want To Miss These, Click Here to Read More Awesome!
Mapping Out Electrical System
mapping out the electrical system in your DIY camper is a vital first step in the installation process. It involves planning the locations of key components such as batteries, inverters, circuit breakers, and outlets. By mapping out the system, you can ensure efficient routing of wires, proper spacing of components, and easy access for maintenance or upgrades in the future. Additionally, having a clear plan helps prevent mistakes or oversights that can lead to electrical issues down the line.
Selecting the Right Wire
Selecting the correct wire for your camper’s electrical system is crucial for maintaining a safe and reliable setup. The wire gauge, or thickness, must be appropriate for the expected current loads in each circuit. Using wire that is too thin can lead to overheating and potential fire hazards, while wire that is too thick may be unnecessarily expensive and difficult to work with. It is important to consult wire-sizing charts and guidelines to ensure that the selected wire can handle the anticipated electrical demands.
In addition to wire gauge, the insulation type and temperature rating must also be considered. Different insulation materials have varying resistance to heat, moisture, and other environmental factors. Choosing wire with insulation suitable for the conditions encountered inside a camper is essential for long-term durability and performance.
Choosing Connectors
Choosing the right connectors for your DIY camper electrical installation is critical for ensuring secure and reliable connections. Connectors for electrical wiring come in various types and sizes, designed for specific wire gauges and applications. It is essential to select connectors that match the wire size you are working with and have the appropriate crimp terminals.
Proper crimp connectors are essential to ensure that the conductors are firmly and permanently attached to the connector. This creates a low-resistance connection that minimizes the risk of overheating or electrical failures. When selecting connectors, it is important to consider factors such as insulation type, connector material, and compatibility with the wire size and type.
Conclusion
A successful DIY camper electrical installation requires the use of proper tools, adherence to recommended techniques, and attention to detail. The tools mentioned in this article, such as wire cutters, wire strippers, wire crimpers, and miscellaneous tools, are crucial for handling all the wiring and connections involved in a camper electrical system.
Mapping out the electrical system, selecting the right wire and connectors, properly crimping and connecting wires, installing circuit breakers and fuses, and testing the electrical system are key techniques that ensure a safe and reliable electrical installation in your camper.
By following these guidelines and using the appropriate tools, you can confidently undertake a DIY camper electrical installation that meets your specific needs and provides a comfortable and functional electrical system in your camper.

