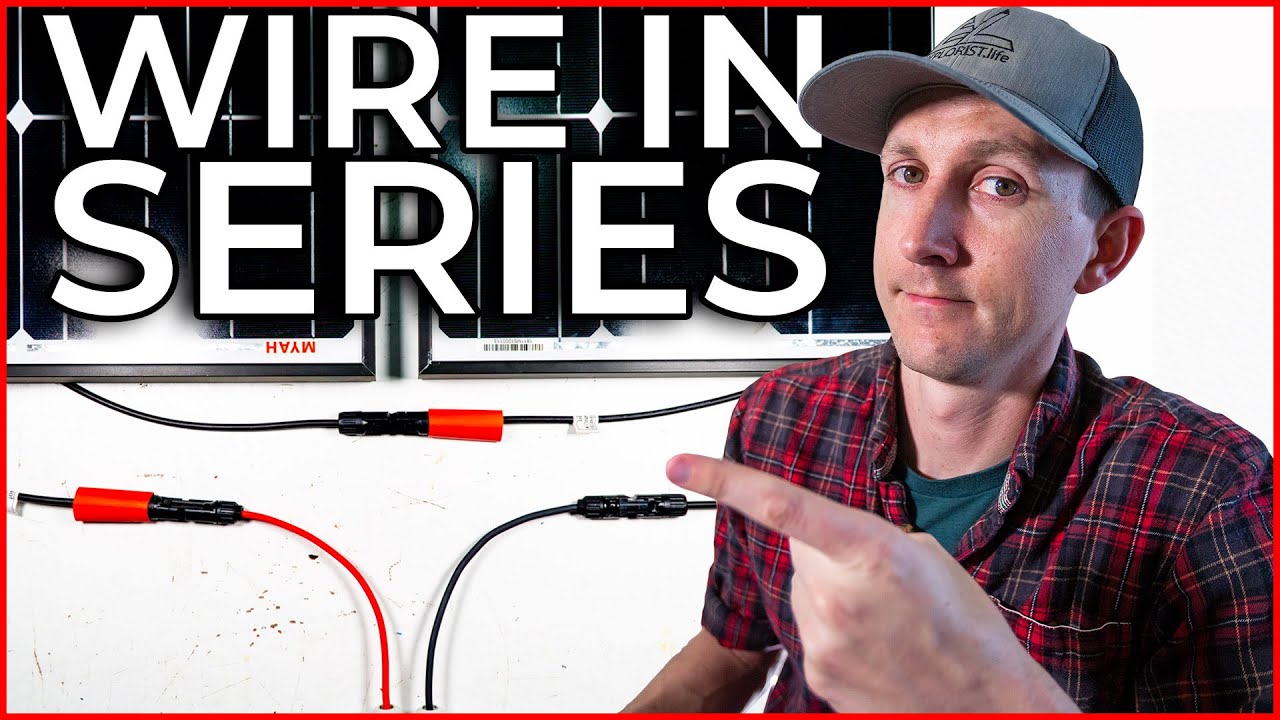
In this video by EXPLORIST life – DIY Campers, you will learn how to wire solar panels in series for your DIY camper van, RV, or truck camper solar installation. This video is part of a series of videos that cover the basic electrical skills you’ll need for your camper project. Before getting started, it is recommended to watch the previous videos on making mc4 connectors and checking voltages using a multimeter, as they serve as prerequisites for this video. The goal of this hands-on tutorial is to show you the practical application of wiring solar panels in series, creating one big solar panel with positive and negative ends that can be connected to a charge controller. The process remains the same whether you are using two panels or ten panels, with positive and negative wires being connected from neighboring panels and then feeding the charge controller. If you need to space your panels further apart, you can make a panel interconnect wire with mc4 connectors to bridge the gap. Stay tuned for future videos on wiring solar panels in parallel and series-parallel configurations.
Check out these awesome Van Life Guides!
Introduction
If you’re interested in harnessing solar energy to power your home or other electrical devices, you’ll need to understand how to wire solar panels in series. Wiring solar panels in series allows you to increase the voltage output, making them more efficient and effective in charging batteries or feeding power into the electrical grid. In this article, we’ll guide you through the step-by-step process of wiring solar panels in series, ensuring that you have the necessary knowledge and skills to successfully complete the task.
Video Overview
Before we dive into the details, it’s helpful to watch a video overview of the entire process. Seeing the process in action can provide a visual understanding of the steps involved, making it easier to follow along and troubleshoot any issues that may arise. You can find numerous video tutorials online that demonstrate the wiring process, so take a moment to search for one that suits your needs and learning style.
Prerequisites for Wiring Solar Panels in Series
Before you begin wiring your solar panels in series, there are a few prerequisites you’ll need to ensure you have in place. Firstly, you’ll need the actual solar panels with their associated positive and negative wires. It’s also important to have a solid understanding of electrical wiring principles and safety precautions. Familiarize yourself with the basics of electrical wiring and the proper handling of wires before proceeding.
Additionally, you may need to gather some tools and materials, such as wire cutters/strippers, crimping tools, and appropriate connectors. Consult the user manual or documentation that came with your solar panels to determine the specific tools and materials needed for installation. Once you have these prerequisites in place, you’re ready to move on to the actual wiring process.

If You Love Van Life, You Will Not Want To Miss These, Click Here to Read More Awesome!
Step 1: Identify Positive and Negative Wires
The first step in wiring solar panels in series is to identify the positive and negative wires on each panel. Typically, solar panels have a pair of wires that extend from the back. These wires are color-coded, with the positive wire usually being red and the negative wire black. However, it’s always a good idea to double-check the documentation or labels on your specific solar panels to confirm the color coding.
It’s crucial to correctly identify the positive and negative wires before proceeding further, as connecting them incorrectly can result in damage to the panels or even pose a safety hazard. Take your time to ensure you have correctly identified the wires.
Step 2: Prepare the Solar Panels
Once you have identified the positive and negative wires, the next step is to prepare the solar panels for wiring. Start by positioning the panels in the desired location, such as on your roof or in a sunny area of your property. Ensure that the panels are securely mounted and aligned properly for maximum sun exposure.
Before connecting the wires, it’s a good idea to clean the surface of the panels with a soft cloth or sponge to remove any dirt, dust, or debris that may have accumulated. This ensures that the panels can generate the maximum amount of solar power without any obstructions.
Step 3: Connect the Positive and Negative Wires
With the panels prepared, it’s time to connect the positive and negative wires. To do this, you’ll need to strip a small portion of insulation from the end of each wire, exposing the bare copper conductor. Use wire cutters or strippers to carefully remove the insulation without damaging the wire itself.
Once the wires are stripped, connect the positive wire from one panel to the negative wire of the next panel. This creates a series connection, where the positive terminal of one panel is connected to the negative terminal of the next panel. Repeat this process for all the panels you wish to wire in series, ensuring that the positive and negative wires are properly connected.
Step 4: Connect the Wires to the Charge Controller
Now that you have successfully connected the solar panels in series, the next step is to connect the wires to the charge controller. The charge controller acts as a regulator, ensuring that the electrical current from the solar panels is properly managed and fed into the batteries or electrical grid.
Refer to the user manual or documentation that came with your charge controller to identify the appropriate terminals for connecting the wires. Typically, charge controllers have dedicated terminals for connecting the positive and negative wires from the solar panels. Use the appropriate connectors, such as crimp connectors or terminal blocks, to securely fasten the wires.
Step 5: Wiring Multiple Panels in Series
If you have multiple sets of solar panels and wish to wire them all in series, the process is relatively straightforward. Simply repeat the steps outlined above for each set of panels, connecting the positive wire from the first set to the negative wire of the second set, and so on.
It’s important to keep track of the order in which the panels are connected to ensure that the positive and negative wires align correctly throughout the series connection. Double-check your connections and use wire ties or clips to organize and secure the wires, minimizing the risk of them becoming tangled or disconnected.
Step 6: Using Panel Interconnect Wires
In some cases, you may need to connect panels that are physically separated or positioned at a distance from each other. This is where panel interconnect wires come in handy. Panel interconnect wires allow you to extend the reach of your solar panels, making it easier to wire them in series.
To use panel interconnect wires, simply connect one end to the positive wire of one panel and the other end to the negative wire of the next panel. This allows you to create a series connection between panels that are not directly adjacent to each other. Be sure to choose interconnect wires of the appropriate length and gauge for your specific installation.
Conclusion
Wiring solar panels in series is a crucial step in maximizing the efficiency and effectiveness of your solar power system. By following the step-by-step process outlined in this article, you can confidently connect your solar panels in series, increasing the voltage output and harnessing more energy from the sun. Remember to always prioritize safety, follow the manufacturer’s instructions, and consult a professional if you’re unsure about any aspect of the wiring process. With a little know-how and the right tools, you’ll be well on your way to enjoying the benefits of solar energy.

