

In “Preparing Nell for the 2020 Hire Season: Part 13,” Snowdonia Classic Campers takes you through the process of restoring their 1973 VW Bay window campervan. This episode focuses on painting the front panel and conducting shot blasting. By carefully removing any heat from the panel, the host proceeds to mix body filler and address areas that require filling. After allowing the filler to dry, they proceed to sand it down and prepare it for epoxy primer application. They also discuss the choice of epoxy paint for its anti-corrosion properties. Throughout the episode, they highlight the importance of attention to detail in achieving a high-quality restoration.
To further progress in the restoration, the host plans to work on the sliding door and rear hatch, aiming to paint them at the same time as the front panel. They also mention the need to complete the vehicle’s electrical work and interior before getting the bus running again. This episode showcases the meticulous steps involved in restoring a vintage campervan to its former glory, promising a captivating journey for automotive enthusiasts and campervan lovers alike.
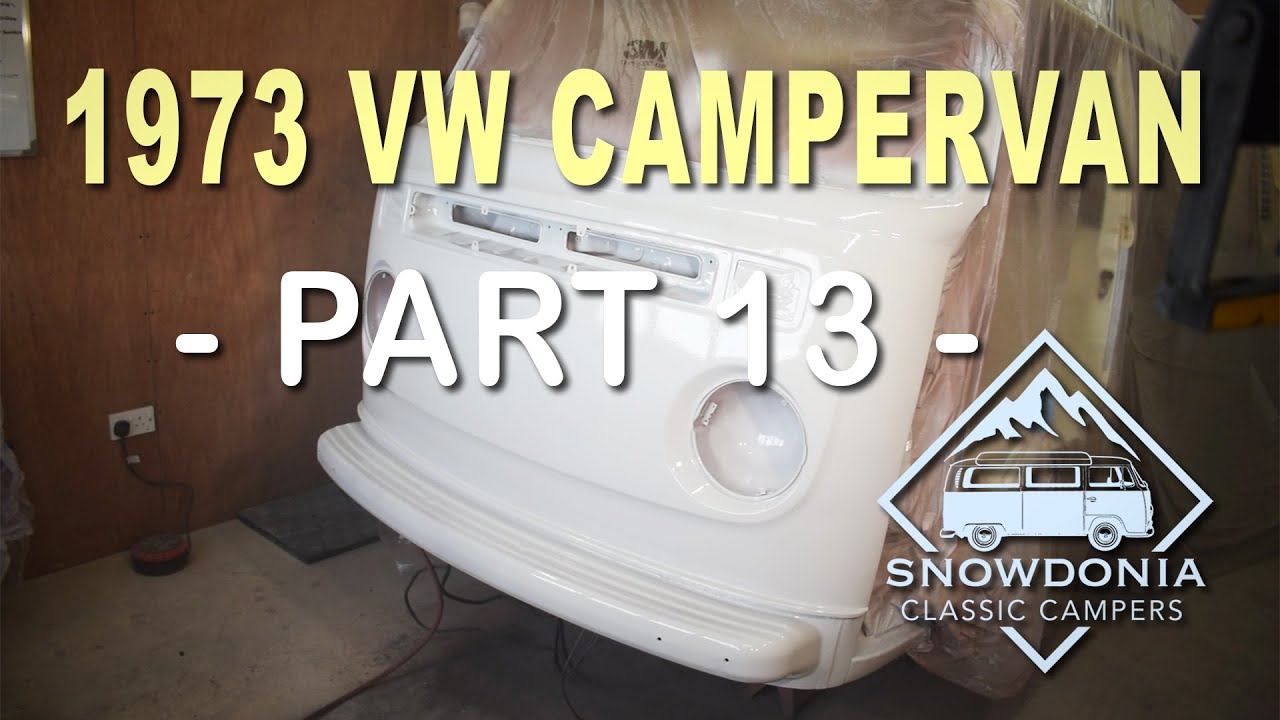
Preparing Nell for the 2020 Hire Season: Part 13
Check out these awesome Van Life Guides!
Removing Paint from Front Panel
In order to achieve a flawless finish, it is essential to start with a clean and smooth surface. The first step in preparing Nell for the 2020 hire season is to remove any existing paint from the front panel. This can be done using various methods such as sanding, chemical paint strippers, or heat guns depending on the type and condition of the paint.
Applying Body Filler
After removing the old paint, the next step is to apply body filler to any dents, scratches, or imperfections on the front panel. Body filler is a thick paste-like substance that can be spread over damaged areas to restore the smoothness of the surface. It is important to carefully and evenly apply the body filler using a putty knife or spreader, ensuring that the repaired areas are level with the surrounding panel.
Sanding with 80 Grit Paper
Once the body filler has dried and hardened, it is time to begin the sanding process. Starting with 80 grit sandpaper, you will want to sand the front panel in smooth and even strokes. This will help to further level and blend the repaired areas with the rest of the panel. Be sure to sand in a consistent direction to avoid creating any uneven marks or grooves.
Creating Gap between Door and Front Panel
In order to achieve a seamless appearance, it is important to create a small gap between the door and the front panel. This gap will allow for proper alignment and movement of the door without any interference. To create the gap, carefully adjust the hinges or latches as needed, ensuring that there is enough space for the door to open and close smoothly.
Taking the Door Off
To facilitate easier access and ensure a thorough paint job, it is a good idea to remove the door from the front panel. This will also prevent any accidental damage to the door during the painting process. Carefully remove the hinges or bolts that secure the door to the panel, making sure to properly support the door to avoid any unnecessary strain on the hinges.
Applying Second Layer of Filler
After sanding and creating the desired gap, it may be necessary to apply a second layer of body filler to further refine the surface. This additional layer will help to fill any remaining imperfections and ensure a perfectly smooth finish. Follow the same process as before, applying the body filler with precision and allowing it to dry completely.
Sanding with 80 Grit Paper Again
Once the second layer of body filler has dried, it is time to sand the front panel once again, this time using 80 grit sandpaper. This step is crucial in achieving a flawless and uniform surface, as it helps to blend the layers of body filler seamlessly with the panel. Take your time and pay attention to detail while sanding, ensuring that the surface is smooth and even.
Applying Epoxy Primer
To enhance the adhesion of the paint and provide a protective layer, it is recommended to apply an epoxy primer to the front panel. Epoxy primers are known for their excellent adhesion and corrosion resistance properties, making them ideal for automotive applications. Apply the epoxy primer using a spray gun or roller, following the manufacturer’s instructions for optimal results.

If You Love Van Life, You Will Not Want To Miss These, Click Here to Read More Awesome!
Masking Off the Rest of the Bus
Before proceeding with the painting process, it is crucial to mask off the rest of the bus to protect it from overspray. Use plastic sheeting or masking tape to cover any areas that you do not want to be painted, such as windows, mirrors, and trim. Take your time to ensure that the masking is done accurately and securely, as this will help to achieve a professional and polished final result.
Painting with Epoxy Paint
Now comes the exciting part – painting the front panel with epoxy paint. Epoxy paint is known for its durability, high gloss finish, and resistance to weathering and chemicals. Apply the epoxy paint using a spray gun in thin and even coats, allowing each coat to dry before applying the next. This will help to achieve a smooth and uniform finish, free of any streaks or runs.
Scuffing the Surface with a Scotch Pad
To promote good adhesion between the layers of paint, it is important to scuff the surface of the epoxy paint with a Scotch Pad. This will help to create a slightly rough texture that allows subsequent layers of paint to adhere properly. Gently scuff the surface in a circular motion, ensuring that you cover the entire painted area.
Applying 2k High Build Primer
Before moving on to the final paint application, it is recommended to apply a 2k high build primer. This primer is designed to fill in any remaining minor imperfections and provide a smooth and level surface for the topcoat. Apply the 2k high build primer using a spray gun, following the manufacturer’s instructions for mixing ratios and application techniques.
Shot Blasting the Front Grille
To ensure proper adhesion and a clean surface, it is important to shot blast the front grille. Shot blasting is a process that involves propelling small particles at high speeds to remove surface contaminants, rust, and old paint. This process not only prepares the surface but also improves the overall appearance by creating a clean and uniform finish.
Making Localized Repairs to the Front Panel
Inspect the front panel for any localized areas that may require additional repairs. This could include minor dents, scratches, or imperfections that were missed during the initial repair process. Use body filler and sanding techniques to address these areas, ensuring that they blend seamlessly with the rest of the panel.
Using Bill Dolphin Blaze for Imperfections
For any remaining imperfections or small flaws on the front panel, consider using a product like Bill Dolphin Blaze. This specially formulated compound is designed to fill in and conceal imperfections, providing a smooth and flawless surface for painting. Apply the Bill Dolphin Blaze to the affected areas using a putty knife or spreader, then sand and blend with the surrounding panel as needed.
Painting with Acrylic Satin Black Paint
Once all necessary repairs and preparations have been completed, it is time to paint the front panel with acrylic satin black paint. Acrylic paint provides excellent color retention and a satin finish that adds a touch of elegance to the overall appearance. Apply the paint in thin and even coats, allowing proper drying time between each coat for optimal results.
Bolting Panels Together
With the painting process complete, it is time to bolt the panels together. Carefully align the front panel with the corresponding panels, ensuring that all bolt holes line up properly. Use the appropriate bolts and hardware to secure the panels together, taking care not to overtighten or strip the threads.
Painting Lip at the Top for Weld Coverage
To provide additional protection and a seamless appearance, it is recommended to paint the lip at the top of the front panel. This will not only cover any exposed welds but also enhance the overall aesthetics of the bus. Use the same acrylic satin black paint as before, applying it carefully and evenly to the lip.
Fitting the Dash
The final step in preparing Nell for the 2020 hire season is to fit the dash. The dash is an integral part of the bus, providing a functional and aesthetic focal point. Securely attach the dash to the front panel, ensuring that it is aligned properly and that all connections are secure. Take your time to ensure a perfect fit, as the dash will greatly contribute to the overall appearance and functionality of the bus.
Taking the necessary time and care to complete each step outlined in this article will ensure that Nell is ready for the 2020 hire season. By removing paint, applying body filler, sanding, creating gaps, and using high-quality paints and primers, you can achieve a flawless and professional finish that will impress your customers and stand the test of time. Remember to follow safety guidelines and manufacturer instructions throughout the entire process to achieve the best results possible.