

Part 20 of the 1973 VW Campervan Restoration Series by Snowdonia Classic Campers focuses on preparing Nell, their 1973 VW Bay window campervan, ready for the 2020 hire season. In this episode, the host addresses various issues with the bodywork of the van, including getting the side door and rear hatch ready for paint, as well as tending to the B posts and front panel. As the host takes viewers through the process, they demonstrate sanding techniques and the use of glazing putty to fix any low spots. The episode also highlights the importance of properly addressing rust issues by cutting out damaged areas and replacing them with new panels.
The second paragraph of the introduction continues to detail the specific challenges faced during the restoration process. The host identifies areas of significant rust and discusses the decision to replace sections with new panels rather than patching them. The narrative also includes plans to work on repairing the B post on the driver’s side, as well as block-sanding the front panel. As the episode comes to a close, the host expresses satisfaction with the progress made so far and emphasizes the dedication to thorough restoration work to ensure long-lasting results.
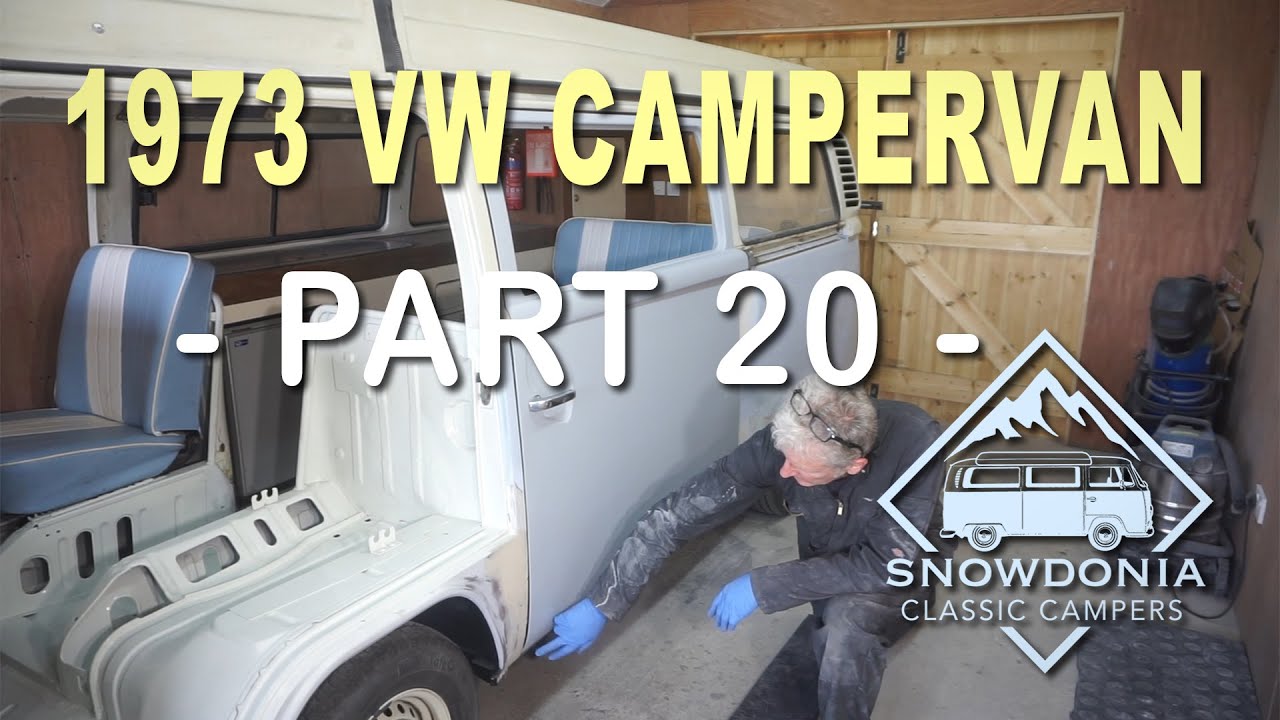
Preparing Nell, our 1973 VW Bay window campervan ready for the 2020 hire season
The 2020 hire season is approaching, and it’s time to get Nell, our beloved 1973 VW Bay window campervan, ready for the road. As a professional in the campervan industry, it is crucial to ensure that Nell is in top condition to provide a safe and enjoyable experience for our customers. This comprehensive article will guide you through the process of preparing Nell for the upcoming hire season, covering everything from cleaning and organizing the interior to addressing bodywork issues and ensuring the engine and mechanical components are functioning optimally.

Check out these awesome Van Life Guides!
Cleaning and Organizing the Interior
Before we dive into the mechanical aspects, it is essential to start with a clean and well-organized interior. Begin by thoroughly cleaning the upholstery, using suitable cleaning products for the type of material. Ensure that you remove any stains, dirt, or grime that may have accumulated over time. Additionally, pay attention to the carpets and floor mats, making sure they are thoroughly vacuumed or cleaned.
As you clean, take the opportunity to remove any clutter or unnecessary items from the interior. Over time, campervans tend to accumulate extra belongings that are not essential for the hire season. Remove any items that are not essential for the functionality or comfort of the campervan, creating a more spacious and organized environment for your customers.
Lastly, organize the camping equipment within the campervan. Make sure that all utensils, cookware, and camping essentials are stored in designated areas, providing easy access for your customers during their trip. Proper organization ensures a smooth experience and saves time when it comes to setting up and packing up after each hire.
Checking Engine and Mechanical Components
The next crucial step in preparing Nell for the hire season is to thoroughly inspect the engine and mechanical components. Start by examining the engine for any signs of damage, leaks, or worn-out parts. Check the belts, hoses, and connections, ensuring they are in good condition. If any issues are discovered, it is advisable to consult a professional mechanic for repairs or replacements.
Additionally, check the oil and fluid levels in the campervan. Ensure that the oil, coolant, and brake fluid are at the proper levels and top-up or replace them if necessary. Neglecting to maintain the proper fluid levels can lead to engine damage or other mechanical issues during the hire season.
Test the battery to ensure that it has sufficient charge and is holding its charge effectively. If the battery is weak or not holding a charge, consider replacing it to avoid any inconveniences during rentals. Moreover, inspect the brakes and tires for wear and tear. Replace worn brake pads and tires to ensure optimal safety for your customers.
Finally, check all lights and electrical systems to ensure they are functioning correctly. Test the headlights, taillights, turn signals, and interior lights to ensure they are all operational. Verify that the windshield wipers and horn are in good working condition. Address any electrical issues promptly to prevent any inconvenience or safety hazards for the customers.
Inspecting and Repairing Bodywork
Next, we move on to inspecting and repairing the bodywork of Nell. Begin by examining the exterior for rust or other signs of damage. Look closely at all areas, including the body panels, doors, windows, and roof. Rust can be a significant issue in older campervans, as it compromises the structural integrity and visual appeal of the vehicle. If rust spots are detected, it is crucial to address them promptly to prevent further corrosion.
Repair any small dents or scratches on the bodywork using appropriate techniques and tools. Depending on the severity of the damage, you may be able to fix minor issues yourself or seek professional assistance for more significant repairs. It is essential to ensure that the bodywork is smooth and free from any imperfections before moving on to the next steps.
If rust spots are present, treat them promptly to prevent further damage. Remove any loose rust using a wire brush or sandpaper, making sure to reach all affected areas. Once the rust is removed, apply a rust converter or inhibitor to prevent further corrosion. It is crucial to follow the product instructions carefully for optimal results.
Inspect the trim and molding around the windows and doors for any damage. If they are worn or damaged, replace them with new ones to restore the campervan’s appearance and functionality. Properly fitted trim and molding contribute to the overall aesthetic appeal while preventing water leakage and other issues.
If You Love Van Life, You Will Not Want To Miss These, Click Here to Read More Awesome!
Preparing for Paint
After addressing any bodywork issues, it may be necessary to prepare the campervan for paint. Start by sanding down the exterior surface to create a smooth and even base for paint application. Use coarse grit sandpaper or a sanding block to remove any rough areas or imperfections. It is crucial to pay attention to all body panels, corners, and hard-to-reach areas during this process.
Once the surface is adequately sanded, apply a primer suitable for the type of paint you plan to use. The primer will assist in adhesion and enhance the longevity of the paint job. Make sure to follow the manufacturer’s instructions for proper application and drying time.
Before you begin applying paint, carefully mask off areas that should not be painted, such as windows, trim, and other exterior features. Doing so prevents overspray and ensures a clean finish. Take your time during this step to ensure accuracy and precision.
When choosing the right paint, consider factors such as durability, ease of application, and compatibility with the campervan’s exterior material. Consult with a professional paint supplier or seek advice from experienced individuals in the industry. Applying paint in thin layers will result in a more professional and even finish. Follow the recommended drying time between each coat to achieve the desired result.
Lastly, allow sufficient drying time for the paint to cure entirely before handling or exposing the campervan to any potential damage. This step is crucial for achieving a long-lasting and flawless paint job.
Refitting Sliding Door and Rear Hatch
Refitting the sliding door and rear hatch is an integral part of the preparation process. Ensure that these components fit properly and slide smoothly. Inspect the seals around the sliding door and rear hatch to verify they are not worn or damaged. If necessary, replace them with new seals to prevent water leakage and maintain proper insulation within the campervan.
Lubricate the hinges and tracks of the sliding door and rear hatch to ensure they operate smoothly. Use appropriate lubricants recommended for these components to prevent rust and facilitate effortless movement.
Addressing Issues with Bodywork
During the bodywork inspection, identify any rusty areas that require attention. Cut out the rust and damaged sections using appropriate tools, taking care to remove all affected areas completely. Once the damaged sections are removed, weld in new panels to restore the structural integrity and appearance of the campervan.
After welding in the new panels, it is crucial to treat the surrounding areas for rust prevention. Apply a suitable rust inhibitor or converter to the metal surfaces to prevent further corrosion and maintain the durability of the repair work.
Replacing Rusty Panels
In some cases, it may be necessary to replace entire panels due to extensive rust or damage. Order the required replacement panels from a reliable supplier, ensuring they match the dimensions and specifications of the original panels. Once the replacement panels are received, carefully remove the old panels, taking note of the proper installation process.
Fitting and welding in the new panels require meticulous attention and precision. Ensure that the replacement panels align properly and fit securely in place. Seek assistance from a professional if needed, as accurate panel installation is crucial for maintaining the structural integrity and visual appeal of the campervan.
After the new panels are welded in, proceed to paint and seal the replaced panels as mentioned in the earlier section. Properly sealing the panels is essential to protect them from rust and ensure their longevity.
Block Sanding the Side Door and Rear Hatch
Block sanding the side door and rear hatch is an important step to achieve a smooth and flawless surface. Start by preparing the surface for sanding, ensuring it is clean and free from dirt or debris. Use a tack cloth or dry microfiber cloth to remove any loose particles.
For better sanding results, apply a guide coat evenly over the surface. The guide coat will help identify high and low spots during the sanding process. Use coarse grit sandpaper to start sanding, applying even pressure across the surface. Focus on the areas that require more attention, such as dents or imperfections.
Progress to finer grit sandpaper gradually, working through the grits until you achieve the desired level of smoothness. Take your time during this process, ensuring that the surface is uniform and free from any visible imperfections.
If you come across any low spots during sanding, fill them with glazing putty. Apply the putty and level it evenly, taking care not to apply too much. Sand the putty after it cures to achieve a perfect surface.
Repairing Beep Post on Driver’s Side
The beep post on the driver’s side is an essential structural component that requires attention if damaged or rusty. Start by inspecting the beep post for any signs of rust or damage. If rust is present, carefully remove it using a wire brush or sandpaper.
If the beep post is severely rusted or damaged, it may be necessary to repair or replace it. Consult with a professional to assess the extent of the damage and determine the most appropriate course of action. Welding in a new beep post may be required to restore the structural integrity of the campervan.
Block Sanding the Front Panel
Similar to the previous step, block sanding the front panel is crucial for achieving a smooth and flawless surface. Begin by preparing the surface, ensuring it is clean and free from any contaminants. Follow the same sanding process as earlier, starting with coarse grit sandpaper and progressing to finer grits. This step will help eliminate any imperfections and create a seamless and professional finish.
In conclusion, preparing Nell, our 1973 VW Bay window campervan, for the 2020 hire season requires careful attention to detail and a systematic approach. Taking the time to clean and organize the interior, checking and addressing engine and mechanical components, inspecting and repairing bodywork, and meticulously preparing for paint will ensure that Nell is in optimal condition for an enjoyable and memorable camping experience. By following these steps and seeking professional assistance when needed, Nell will be ready to embark on many exciting adventures for the upcoming hire season.