

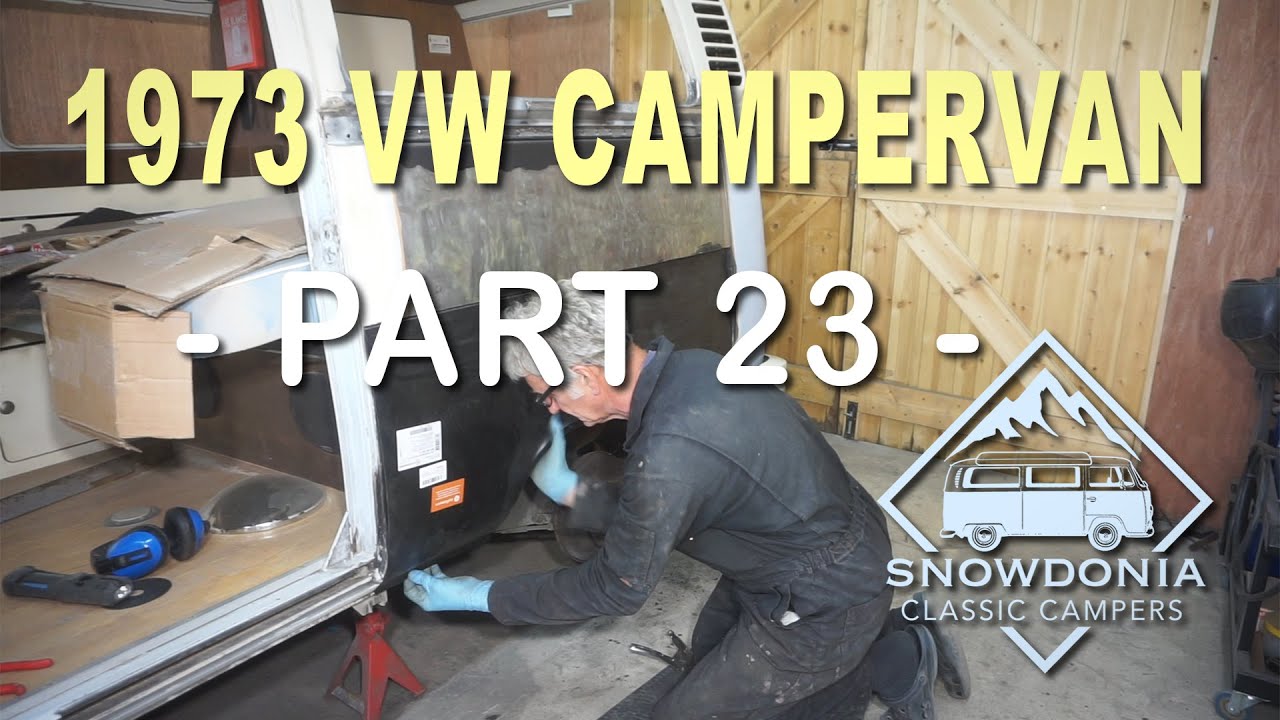
“Replacing the N/S Wheel Arch on a 1973 VW Campervan” is Part 23 of a video series by Snowdonia Classic Campers. The video documents the process of preparing a 1973 VW Campervan for the 2020 hire season by replacing the N/S wheel arch. The narrator discusses purchasing a new wheel arch and headlamp rims, as well as the challenges of fitting the panel correctly and considering the best method of attachment, such as gluing instead of welding. The video concludes with a reminder to comment, like, and subscribe for future content.
In this detailed episode, the narrator works on fabricating and joining the wheel arch to the vehicle, discussing the process of fitting the panel and finalizing the welding. They also mention the importance of treating the area for rust and cleaning it before painting. The next episode will focus on welding and fitting the wheel arch, and the video features music by various artists. For more information, viewers are encouraged to contact Snowdonia Classic Campers via email.
Replacing the N/S Wheel Arch on a 1973 VW Campervan
When it comes to restoring a vintage vehicle like a 1973 VW Campervan, one of the most common issues you may encounter is rust damage on the wheel arches. Over time, these areas are prone to moisture and weathering, leading to corrosion and deterioration. If you find yourself in need of replacing the N/S (nearside) wheel arch on your beloved campervan, fear not. With the right equipment, preparation, and technique, you can tackle this task and restore your vehicle to its former glory.

Check out these awesome Van Life Guides!
Purchasing the necessary equipment
Before diving into the replacement process, it is important to gather all the necessary equipment. You will need:
- N/S wheel arch panel: Ensure that you choose a panel specifically designed for the 1973 VW Campervan to ensure a proper fit.
- Angle grinder: This tool will be essential for removing the old wheel arch and any rusted areas.
- Welding machine: Since the replacement wheel arch will need to be welded, a welding machine is an indispensable tool.
- Protective gear: Remember to prioritize safety by wearing gloves, safety glasses, and a welding helmet during the process.
- Rust treatment products: You will need to treat the area for rust before installing the new wheel arch to prevent further corrosion.
- Wax oil: Applying wax oil to the repaired wheel arch will provide long-term protection against rust.
By ensuring that you have all the necessary equipment before starting the project, you can streamline the process and mitigate any unforeseen complications.
Preparing the area for replacement
With the equipment ready, it is time to prepare the area for wheel arch replacement. Start by removing any components that may hinder access to the affected area, such as the wheel and inner wheel arch liner. Once you have cleared the area, use an angle grinder to carefully remove the old wheel arch. Take your time to avoid damaging the surrounding metal and ensure a clean surface for the new panel.
Trimming and welding the new wheel arch
After removing the old wheel arch, it is crucial to trim the replacement panel to fit properly. Measure and mark the appropriate dimensions, and then use the angle grinder to carefully cut the panel. It is always better to trim a little less initially, as you can always remove more material if needed.
Once the panel is trimmed, position it over the wheel arch area and secure it in place using clamps or welding magnets. Use your welding machine to tack weld the panel in different areas, ensuring proper alignment. Gradually fill in the gaps with continuous welds until the new wheel arch is securely attached to the body of the campervan.
Considering the method of attachment
When replacing the wheel arch, it is essential to consider the most suitable method of attachment. In the case of a 1973 VW Campervan, spot welding is the traditional method employed during manufacturing. Spot welding involves using special welding equipment to join two metal sheets together by applying a series of small welds.
Alternatively, you may opt for plug welding, particularly if you have access to the backside of the joint. Plug welding involves drilling holes in the replacement panel and existing structure, then using a welder to fill the holes with welds. This method ensures a strong bond between the panels while also providing a cleaner finish.
If You Love Van Life, You Will Not Want To Miss These, Click Here to Read More Awesome!
Exploring alternative methods of attachment
While spot welding and plug welding are the most common methods of attaching a wheel arch, there are other options worth exploring. Some enthusiasts have had success with using structural adhesives specifically designed for automotive applications. These adhesives provide a reliable and secure bond while eliminating the need for welding.
Another alternative is using self-tapping screws or rivets to attach the wheel arch. While not as structurally sound as welding or adhesives, this method can be a temporary solution or a quick fix for minor damage.
Before choosing an alternative method, thoroughly research and consult with professionals or fellow enthusiasts to determine the most suitable option for your specific circumstances.
Treating the area for rust
After removing the old wheel arch and before attaching the replacement, it is crucial to treat the area for rust to ensure the longevity of the repair. Start by cleaning the exposed metal with a wire brush or sandpaper to remove any loose debris and rust particles. Then, apply a rust treatment product to the bare metal according to the manufacturer’s instructions. This treatment will neutralize any remaining rust and create a stable surface for the new wheel arch.
Cleaning the area before painting
Once the rust treatment has dried, it is essential to clean the area thoroughly before applying any paint or protective coatings. Use a degreaser or automotive cleaning solution to remove any dirt, grease, or residue from the surface. Rinse thoroughly and allow the area to dry completely before proceeding with painting or further steps.
Fabricating and joining the wheel arch
If you are unable to find a suitable replacement wheel arch panel, or if you prefer a more custom approach, you may need to fabricate your own. This requires access to appropriate metalworking tools, such as a metal brake and welder, and a good understanding of metal shaping techniques.
Start by acquiring a sheet of metal that matches the thickness and type of the original panel. Measure the dimensions of the old wheel arch and transfer them onto the metal sheet. Use the metal brake to shape the sheet into the desired curve and form of the wheel arch. Once you have achieved the desired shape, join the fabricated wheel arch onto the campervan using the appropriate method of attachment (welding, adhesive, screws, or rivets).
Finalizing the welding process
Regardless of whether you opt for a replacement panel or a fabricated wheel arch, it is crucial to finalize the welding process for a secure and aesthetically pleasing finish. Inspect the welds and use a grinder to smooth any rough edges or inconsistencies. This will not only enhance the appearance of the repair but also ensure optimal fitment and longevity.
Protecting the panel with wax oil
After completing the welding and finishing processes, it is vital to protect the newly installed or fabricated wheel arch from future corrosion. Wax oil is a popular choice as it provides a long-lasting barrier against moisture and rust. Apply a generous coat of wax oil to the repaired area, ensuring full coverage of the wheel arch and surrounding metal. Allow the wax oil to dry completely before exposing the campervan to any harsh environments or inclement weather.
Conclusion
Replacing the N/S wheel arch on a 1973 VW Campervan requires careful planning, attention to detail, and the right equipment. By following the steps outlined in this article, you can successfully replace the wheel arch and restore the aesthetic and structural integrity of your beloved campervan. Remember to prioritize safety, consult with professionals or fellow enthusiasts when needed, and enjoy the process of bringing your vintage vehicle back to life.